Frigate NVR Made Simple: Step-by-Step Docker Installation for Your CCTV Smart Home (Raspberry Pi Compatible)
Master Your Surveillance: How to Install Frigate NVR System with Docker in Minutes! Best for Smart Homes!
Table of Content
Frigate CCTV is an innovative free open-source Network Video Recorder (NVR) system that's revolutionizing home surveillance with its powerful AI capabilities and seamless integration with popular smart home platforms.
What Sets Frigate CCTV Apart?
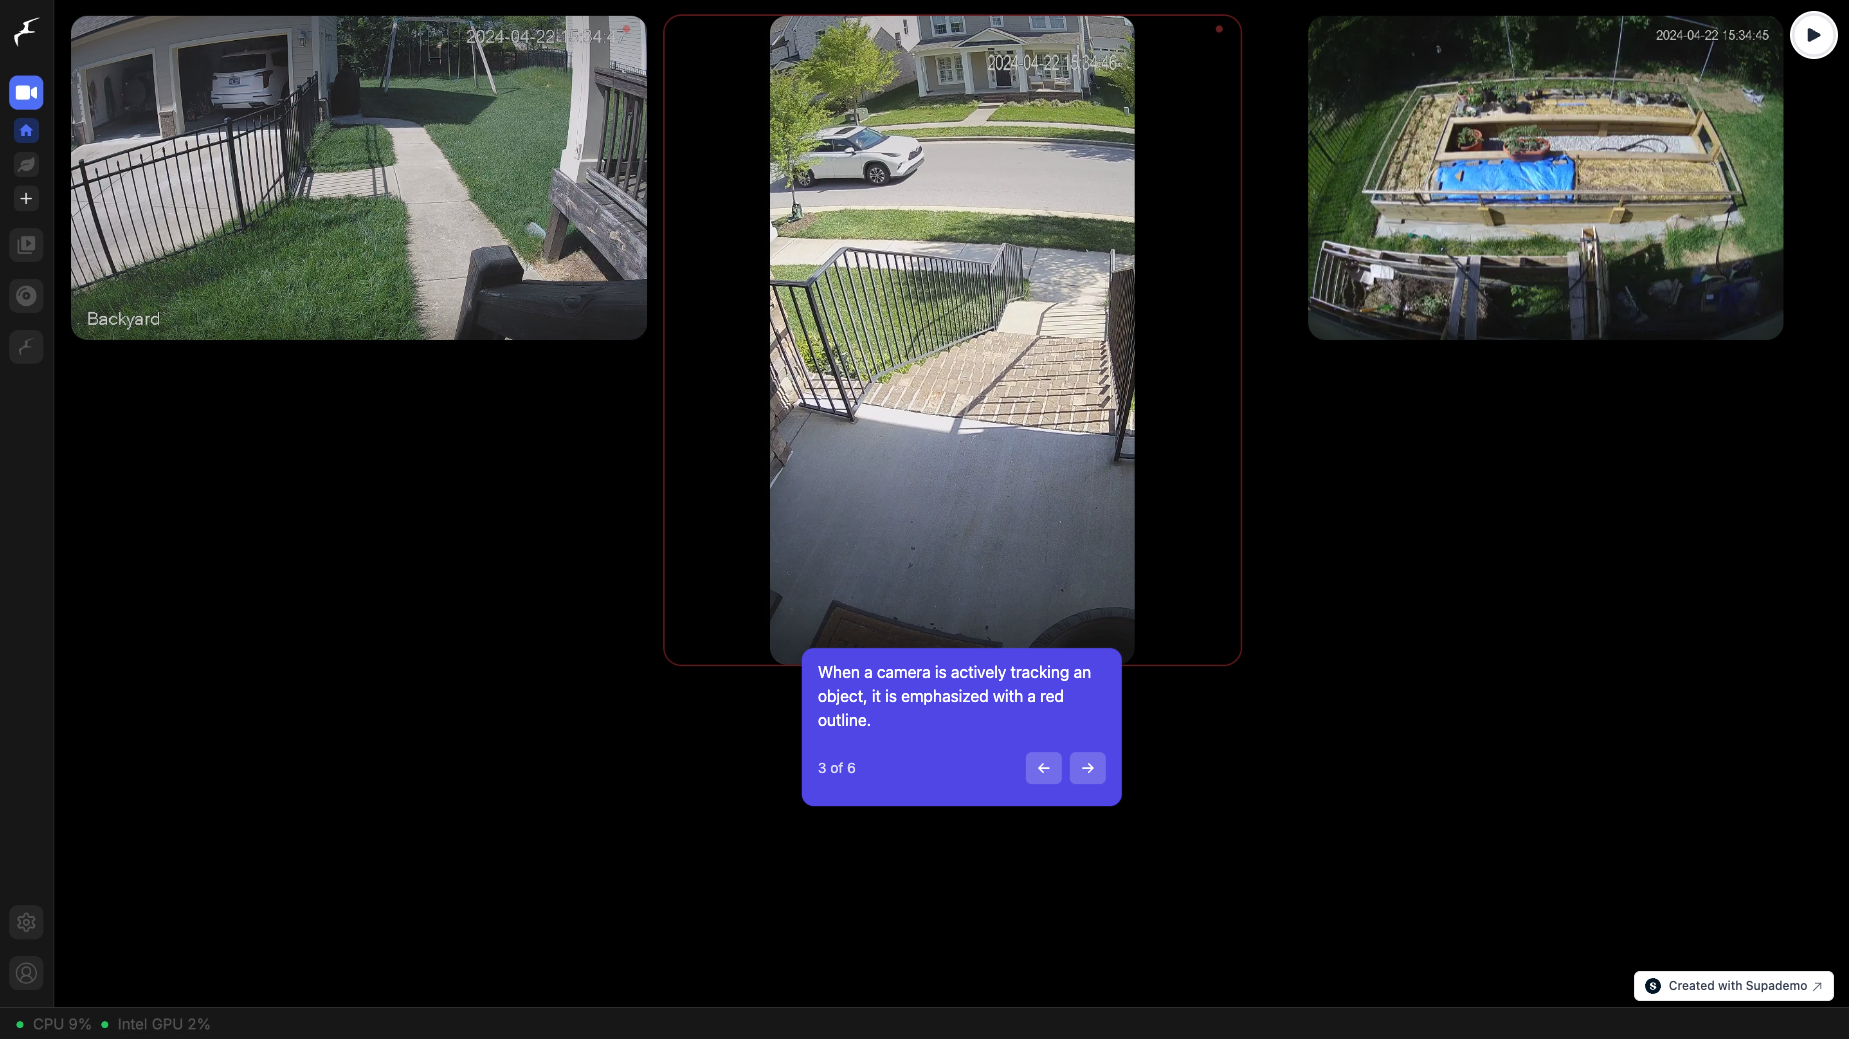
Frigate CCTV isn't just another security camera system – it's a sophisticated AI-powered solution designed to provide real-time object detection and effortless management of multiple camera streams.
Beyond its rich feature set, Frigate also works on SBCs (Single board computers) such as Raspberry Pi 3 and 4, as well as Rockchip and several other SBC.
Let's dive into the key features that make Frigate CCTV a game-changer for smart home enthusiasts:
1. AI-Powered Detection
At the heart of Frigate CCTV is its advanced object detection capabilities. Using state-of-the-art AI algorithms, the system can identify and track various objects in real-time, including:
- People
- Cars
- Animals
This intelligent detection allows for more accurate alerts and reduces false alarms, ensuring you're notified only when it matters most.
2. Broad Camera Compatibility
Frigate CCTV supports RTSP (Real-Time Streaming Protocol) streams, making it compatible with a wide range of IP cameras. This flexibility allows you to use existing hardware or choose from various camera options to suit your specific needs.
3. Seamless Home Assistant Integration
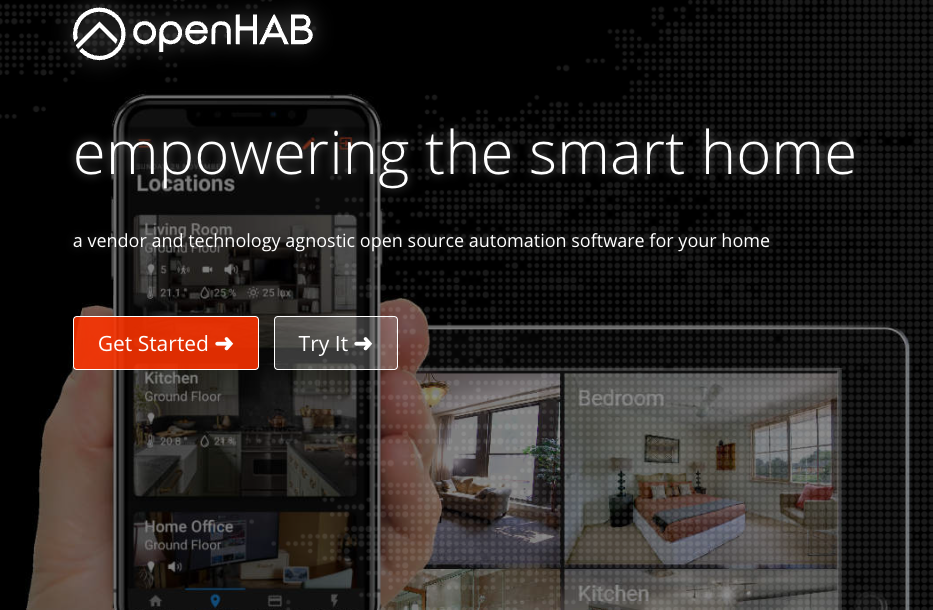
For smart home aficionados, Frigate CCTV's integration with Home Assistant is a standout feature. Through MQTT (Message Queuing Telemetry Transport), Frigate can:
- Send real-time alerts to your Home Assistant dashboard
- Trigger custom automations based on detected events
- Provide a centralized hub for managing your entire smart home security setup
4. Optimized Performance with Hardware Acceleration
The system is designed to make the most of your hardware. It supports acceleration via:
- Coral TPU (Tensor Processing Unit)
- NVIDIA GPUs
This hardware acceleration ensures smooth performance, even when processing multiple high-resolution video streams simultaneously.
5. Intelligent Recording Management
Gone are the days of sifting through hours of footage. Frigate CCTV intelligently saves and categorizes events, making it easy to:
- Quickly access relevant recordings
- Save storage space by focusing on important events
- Create a searchable database of detected objects and activities
6. User-Friendly Web Interface
Frigate CCTV comes with an intuitive web-based dashboard that allows you to:
- Monitor live camera streams
- Adjust detection settings
- Review recorded events
- Manage system configurations
All of this is accessible from any device with a web browser, giving you complete control over your home security system from anywhere.
Setup Frigate on your systems
In this tutorial, we’ll walk you through how to install Frigate, an open-source CCTV NVR system that leverages real-time AI object detection, using Docker.
Frigate is powerful, efficient, and offers seamless integration with Home Assistant. Follow along and set up your smart surveillance system hassle-free.
Prerequisites
Before diving into installation, ensure the following:
- Docker installed: Install Docker.
- NVIDIA GPU (Optional): If you plan to accelerate object detection with CUDA.
- Supported Camera(s): RTSP-compatible cameras are recommended.
- Configuring MQTT Broker (Optional but Recommended): For Home Assistant and alert functionality.
Step 1: Prepare Docker Environment
Update your system’s packages and install Docker if it’s not already installed:
sudo apt update && sudo apt upgrade -y
sudo apt install docker.io docker-compose -y
Start and enable Docker:
sudo systemctl start docker
sudo systemctl enable docker
Step 2: Create Configuration Directory
Create a folder to store Frigate configuration and recordings:
mkdir -p ~/frigate/config
Create a basic config.yml file inside the ~/frigate/config directory:
mqtt:
  host: 192.168.x.x  # Replace with your MQTT broker's IP address
cameras:
  front_door:
    ffmpeg:
      inputs:
        - path: rtsp://<camera_ip>/stream
          roles:
            - detect
    detect:
      width: 1280
      height: 720
Make sure to replace <camera_ip> with your actual camera's IP address. This configuration is a minimal setup to detect movement from a single camera.
Step 3: Pull the Frigate Docker Image
Pull the latest Frigate Docker image:
docker pull blakeblackshear/frigate:stable-amd64
If you’re using NVIDIA GPU for acceleration, use the following image instead:
docker pull blakeblackshear/frigate:stable-nvidia
Other Docker Images for Frigate
Note that there is other images for Frigate, some are official and the others are provided and maintained by the community:
The official docker image tags for the current stable version are:
stable- Standard Frigate build for amd64 & RPi Optimized Frigate build for arm64stable-standard-arm64- Standard Frigate build for arm64stable-tensorrt- Frigate build specific for amd64 devices running an nvidia GPU
The community supported docker image tags for the current stable version are:
stable-tensorrt-jp5- Frigate build optimized for nvidia Jetson devices running Jetpack 5stable-tensorrt-jp4- Frigate build optimized for nvidia Jetson devices running Jetpack 4.6stable-rk- Frigate build for SBCs with Rockchip SoCstable-rocm- Frigate build for AMD GPUs and iGPUs, all driversstable-rocm-gfx900- AMD gfx900 driver onlystable-rocm-gfx1030- AMD gfx1030 driver onlystable-rocm-gfx1100- AMD gfx1100 driver only
Step 4: Launch Frigate with Docker Compose
Create a docker-compose.yml file inside the ~/frigate/ directory:
version: '3.9'
services:
  frigate:
    container_name: frigate
    image: blakeblackshear/frigate:stable-amd64  # Use stable-nvidia for GPU version
    privileged: true
    restart: unless-stopped
    shm_size: '64mb'  # Increase if necessary
    volumes:
      - /dev/bus/usb:/dev/bus/usb  # Optional for Coral accelerators
      - ~/frigate/config:/config
      - ~/frigate/media:/media/frigate
      - /etc/localtime:/etc/localtime:ro
    ports:
      - "5000:5000"  # Frigate Web UI
      - "1935:1935"  # RTMP Stream
    environment:
      - FRIGATE_RTSP_PASSWORD=your_password  # Replace with a secure password
Launch the container with:
docker-compose up -d
If you are looking for more sophisticated setup to manage system cache, devices and cameras, you may check for the following Docker compose file:
version: "3.9"
services:
  frigate:
    container_name: frigate
    privileged: true # this may not be necessary for all setups
    restart: unless-stopped
    image: ghcr.io/blakeblackshear/frigate:stable
    shm_size: "64mb" # update for your cameras based on calculation above
    devices:
      - /dev/bus/usb:/dev/bus/usb # Passes the USB Coral, needs to be modified for other versions
      - /dev/apex_0:/dev/apex_0 # Passes a PCIe Coral, follow driver instructions here https://coral.ai/docs/m2/get-started/#2a-on-linux
      - /dev/video11:/dev/video11 # For Raspberry Pi 4B
      - /dev/dri/renderD128:/dev/dri/renderD128 # For intel hwaccel, needs to be updated for your hardware
    volumes:
      - /etc/localtime:/etc/localtime:ro
      - /path/to/your/config:/config
      - /path/to/your/storage:/media/frigate
      - type: tmpfs # Optional: 1GB of memory, reduces SSD/SD Card wear
        target: /tmp/cache
        tmpfs:
          size: 1000000000
    ports:
      - "8971:8971"
      # - "5000:5000" # Internal unauthenticated access. Expose carefully.
      - "8554:8554" # RTSP feeds
      - "8555:8555/tcp" # WebRTC over tcp
      - "8555:8555/udp" # WebRTC over udp
    environment:
      FRIGATE_RTSP_PASSWORD: "password"
Step 5: Access Frigate Web Interface
Once the container is up, open your browser and navigate to:
http://<your-server-ip>:5000
You should see the Frigate web UI, where you can manage your cameras and view live streams.
Step 6: Verify Configuration and Logs
Check the container logs to ensure everything is working properly:
docker logs -f frigate
Make sure there are no errors related to camera streams or object detection.
Step 7: Integrate with Home Assistant (Optional)
- Install the Frigate Integration in Home Assistant.
- Add your MQTT broker details to both Frigate and Home Assistant for seamless communication.
- Create automations in Home Assistant based on detected objects.
Step 8: Troubleshooting Tips
- Video Stream Not Showing: Verify the RTSP URL and camera settings.
- High CPU Usage: Consider using Coral USB Accelerator or NVIDIA GPU for offloading.
- Permission Issues: Ensure Docker has access to the necessary devices and directories.
Congratulations! You now have a fully functional Frigate CCTV NVR system running on Docker. With Frigate’s advanced AI-based detection and easy integration with Home Assistant, you can monitor your home or office more efficiently than ever.
Wrapping up!
Frigate CCTV represents the future of home surveillance – open-source, AI-powered, and seamlessly integrated with the smart home ecosystem. Whether you're a tech enthusiast looking to upgrade your security setup or a homeowner seeking a more intelligent way to protect your property, Frigate CCTV offers a powerful and flexible solution that's worth exploring.
Ready to take your home security to the next level? Give Frigate CCTV a try and experience the peace of mind that comes with cutting-edge, AI-driven surveillance.
If you encounter any issues, refer to the official documentation for further guidance. Happy surveillance! 🚀
More CCTV, NVR and IP-Camera Solutions



Resources

